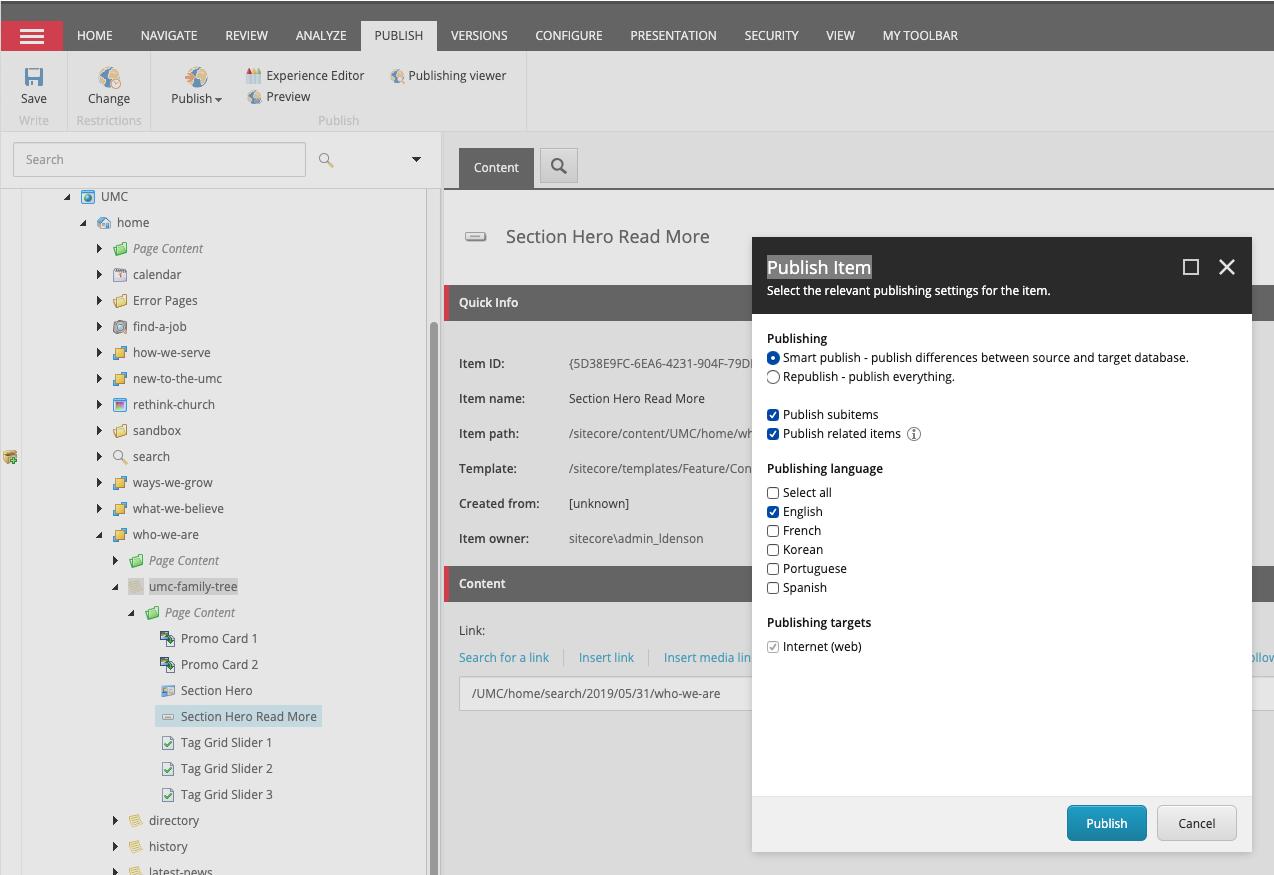
Component Thumbnail:
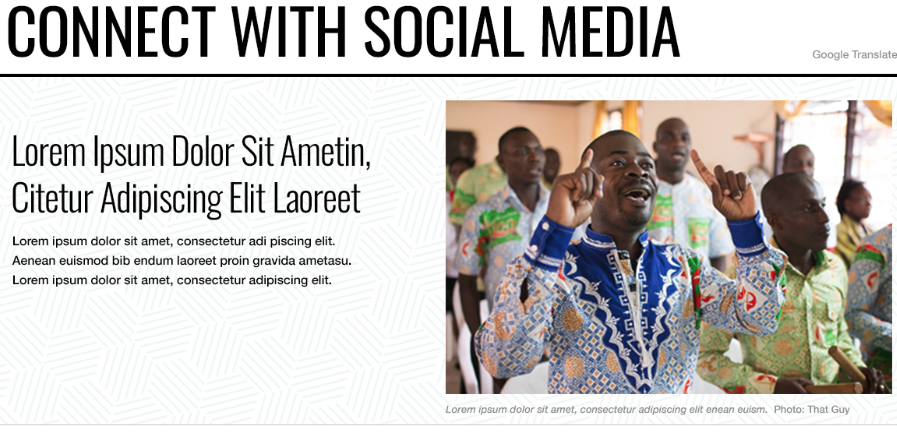
Implementation Instructions:
Purpose of the
SECTION HERO COMPONENT:
This component is an ideal header display for introducing a category, topic, or other set of related content. The Section Hero displays a full width row, segmented into 1/2 image and 1/2 introduction or summary text. This component’s appearance can be modified via the Experience Editor by selecting the component, clicking “More,” and selecting “Edit Component Properties.” From the resulting dialogue box, content editors can modify:
- Image and Text alignment order
- Section Hero background color
To implement a
Section Hero Component:
- Navigate to an existing Campaign, Intermediate or Category Page
- Click the right-arrow to expand the Page Template directory
- Click the right-arrow to expand the “Page Content” folder
- Select the “Section Hero” component.
- Once the Content Editor loads the component, populate the following fields within the Content section:
- Hero Body – This is a Rich Text Editor. Simply click “Show Editor”, or double-click the blank text field to launch the window. Enter your desired text, and click “Accept.”
- Hero Image – This is a Media Library Explorer. Click “Browse” to search for your desired image, or choose one using the filters/facets to the left of the window. Choose your image, and click “Select.”
- Hero Title – This is a Simple Text Field. You cannot format this text beyond entering characters and punctuation. Enter the Section Hero Title text as you would like it to appear.
- Click the “Save” icon (floppy disk) in the upper left corner.
- Publish this item if you have no other components to edit.
- Select “publish related items”, but not “publish subitems,” and continue to “Publish.”
- Publish the enclosing page if you have other components to edit.
- Select “publish related items” and “publish subitems,” and continue to “Publish.”
Adding a Call to Action button to the section hero:
- Navigate to an existing Campaign, Intermediate or Category Page
- With the page selected, click on the Publish tab, then Experience Editor
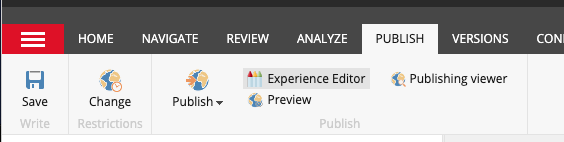
- This will launch the Experience Editor (a WYSIWYG-style visual editor) in a new tab.
- Scroll to the Section Hero, then click on the grayed out box at the bottom of the section hero. An Add here button should appear on the left hand side:
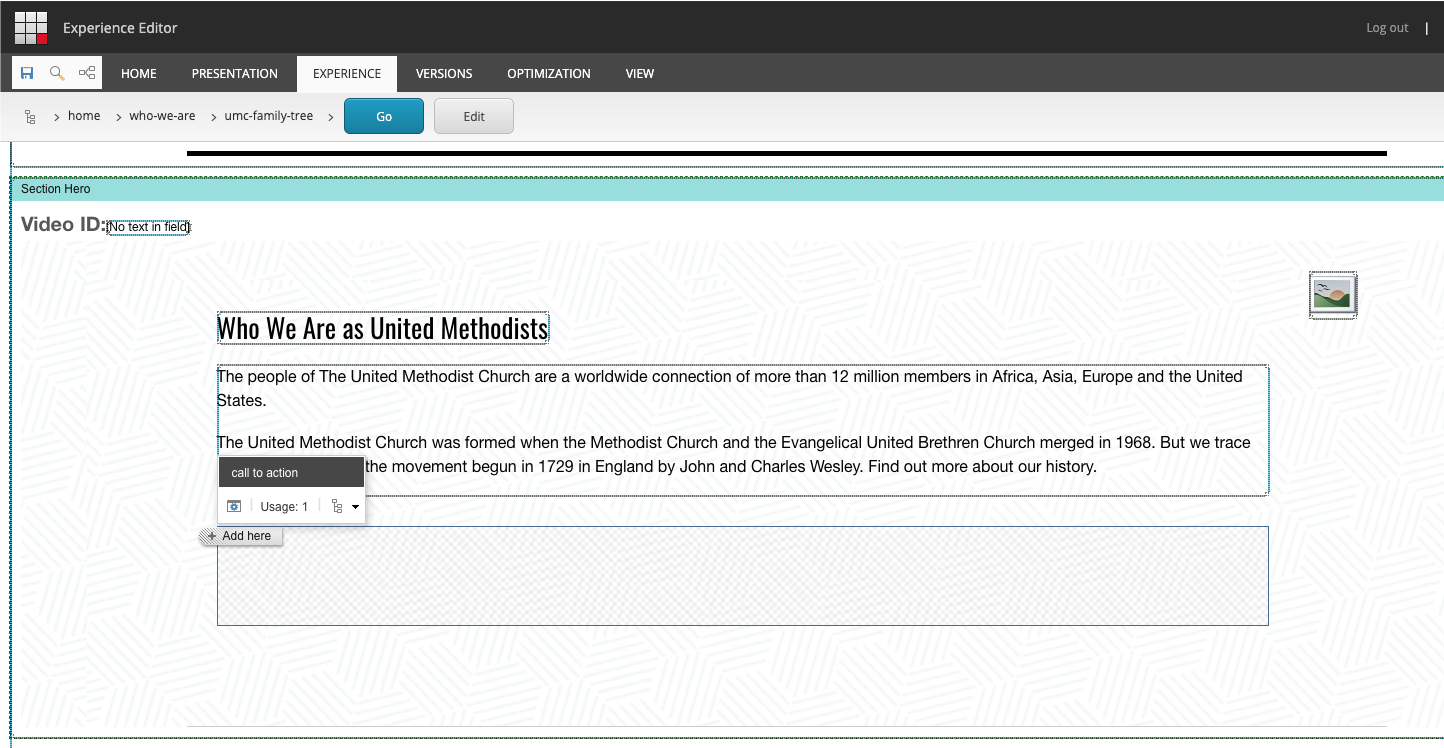
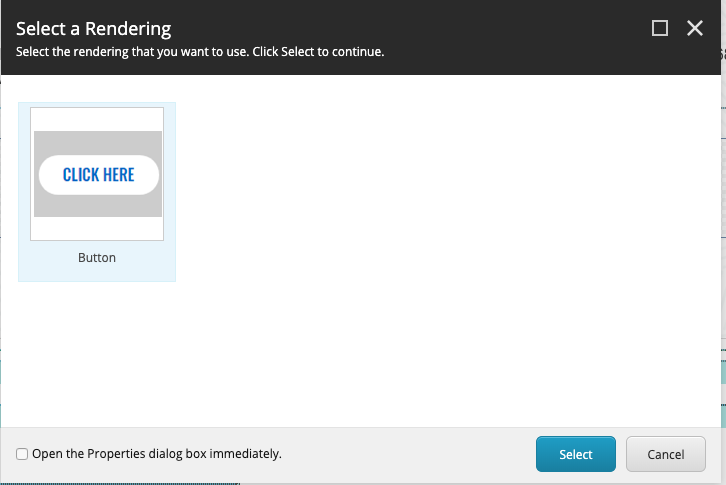
- Click on the Add here button. A new window, labeled “Select a Rendering” will appear. Click on the icon labeled Button, then click Select:
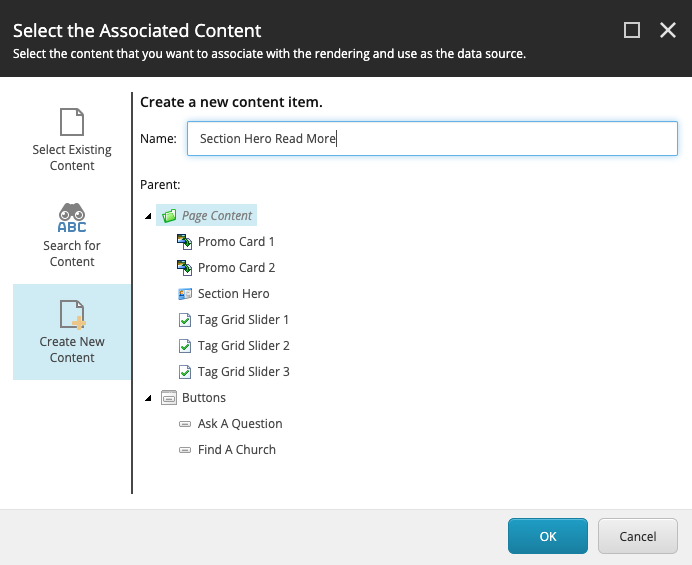
- A new window, labeled “Select the Associated Content” will appear. Click on “Create New Content” on the left panel, give the button a name, e.g. Section Hero Read More, then click OK.
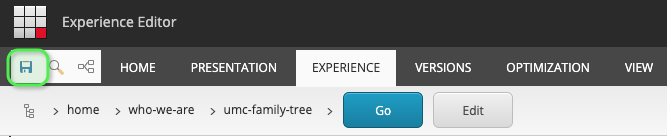
- After several sections, the previously grayed out box will change to a header that reads Button, and text below that says “No text in field.” At this point, save your page by clicking on the save icon in the upper left corner, and switch back to your Content Editor tab
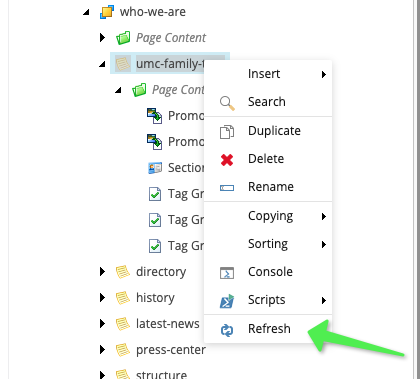
- In the Content Editor, right-click on the page you are working on, and select Refresh from the context menu:
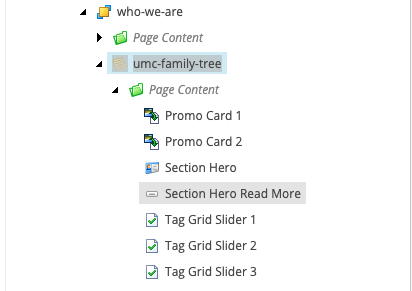
Expand the green Page Content folder, and you should see the Section Hero Read More you just created:
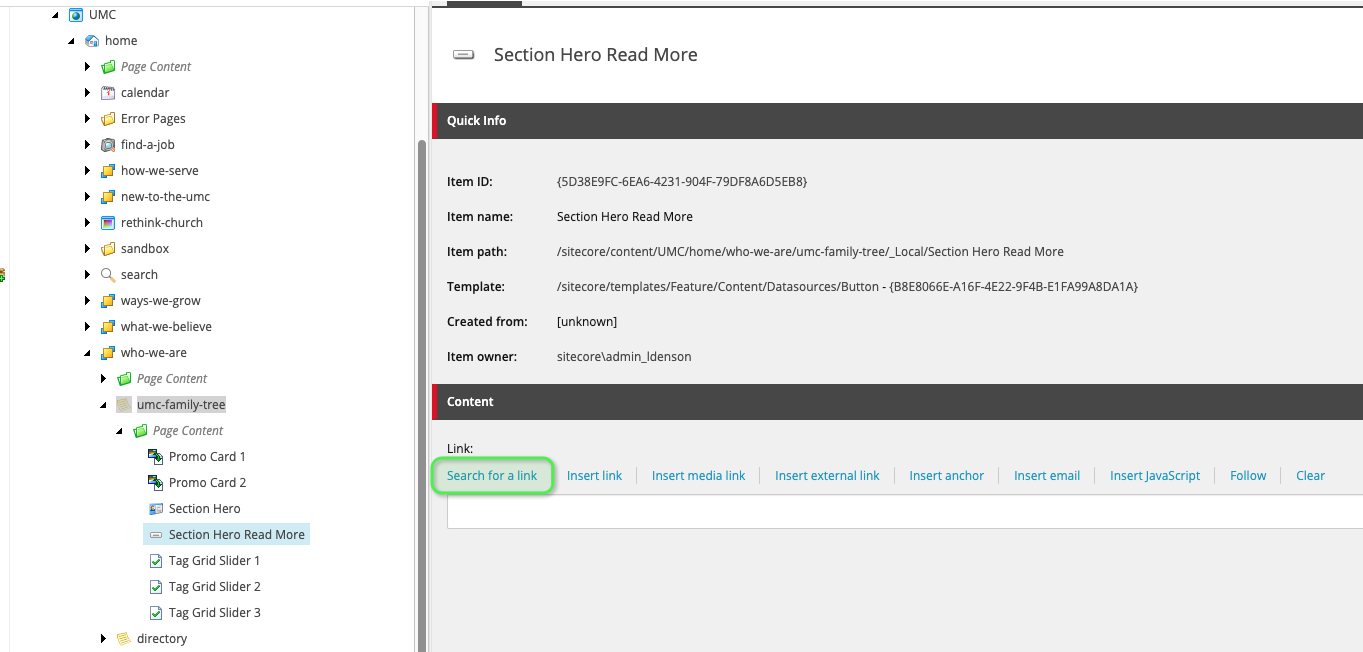
- Click on the button you just created in the content tree, and it will open in the right-side panel. In the Content section, click on Search for a link:
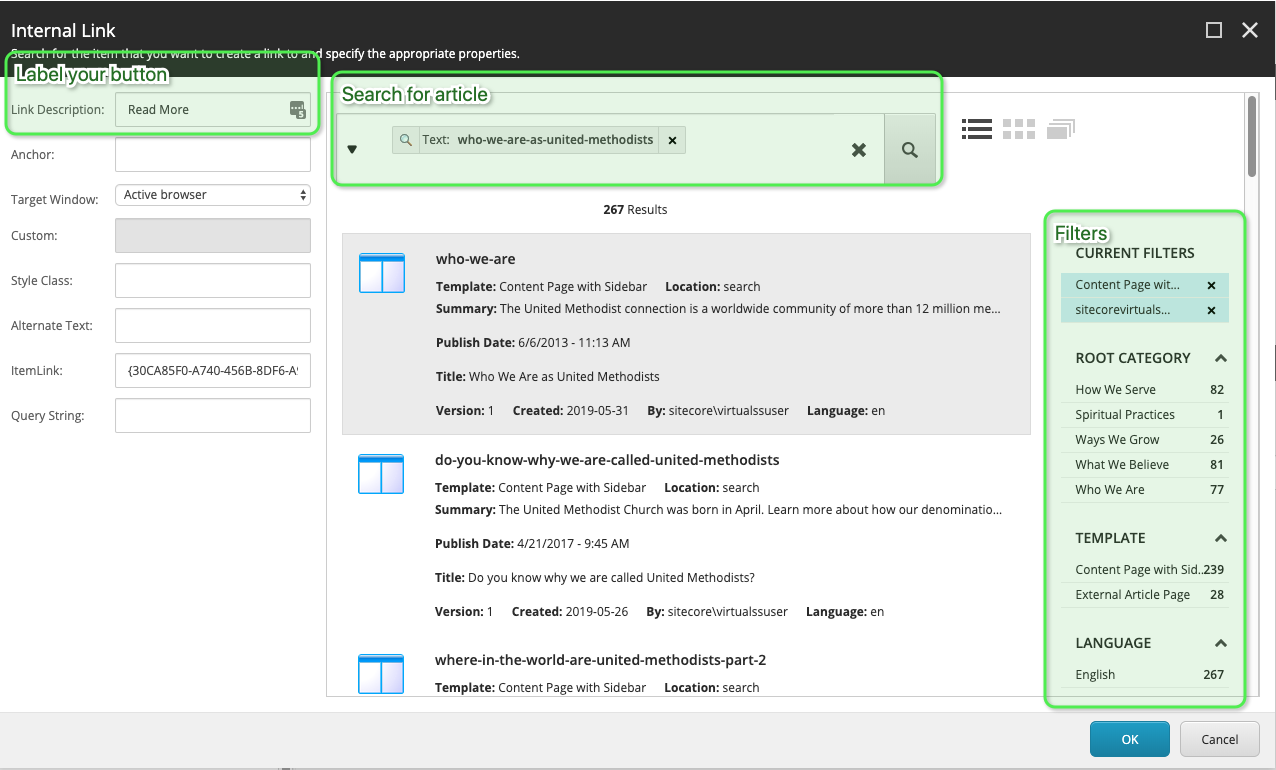
- A new window labeled “Internal Link” will appear. In the Link Description field, type in the text you want to appear on the button, e.g. Read More
- On the right side, you can search for the article you want to link to. You can use the filters on the right side to narrow your search. Select the article, then click OK.
- The Content -> Link field will now be populated with the article you selected.
- Finally, save and publish the component.