What is Experience Editor?
The Experience Editor is a “front end” visual editor which allows users the ability to create, modify, and manage component content.
While the Content Editor is ideal for creating individual pieces of content (articles and other single item displays), Experience Editor offers a flexible means to manage more complex page templates in a more visual manner.
By leveraging both the Content Editor and Experience Editor, authors can create multiple sets of compatible data and choose the specific set they’d like to display.
Introduction to Experience Editor:
To use the
Experience Editor:
- Navigate to an existing page within the File Tree
- Expand the page sub items by clicking the right-pointing arrow.
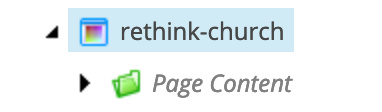
- Expand the “Page Content” folder. All available data sets for this page are enclosed in this green folder.
- Additional component data sets can be duplicated by right clicking and selecting “duplicate.”
- Each data (Button, Content Grid, Content Panel, Content Tile, etc.) set component can be updated individually.
NOTE: Just because a data set has been updated, that does not ensure it will be displayed on the page. See subsequent steps to associate data sets to specific components via Experience Editor.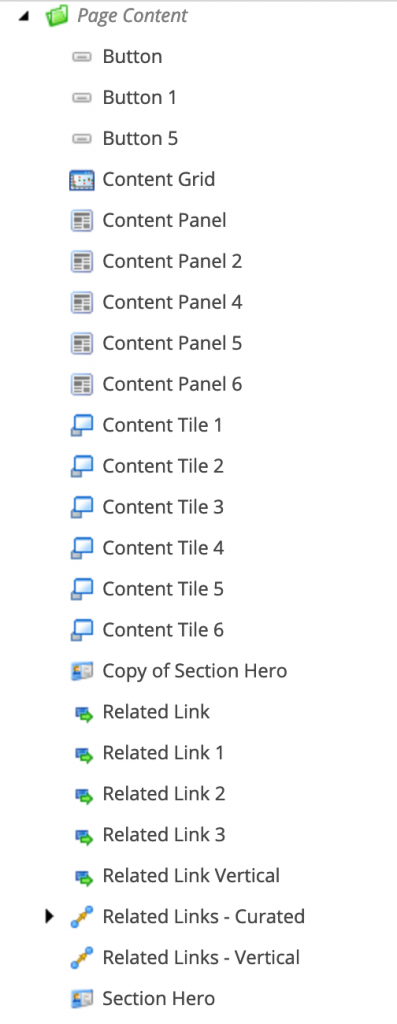
- Once component data sets have been configured, select the Page Template (rethink-church, in this example), save the page, and Publish with “publish subitems” selected. Click the “Experience Editor” link beneath the “Publish” tab in the Content Editor Ribbon. This will launch the Experience Editor in a new browser tab.
NOTE: If the home page loads, close the browser tab and ensure the proper Page has been selected in Content Editor.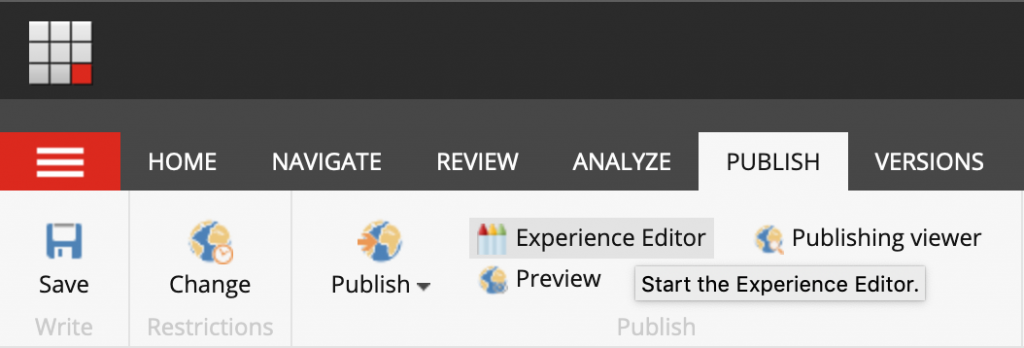
- Within the Experience Editor, all editable components will be outlined with a blue border, and component title.
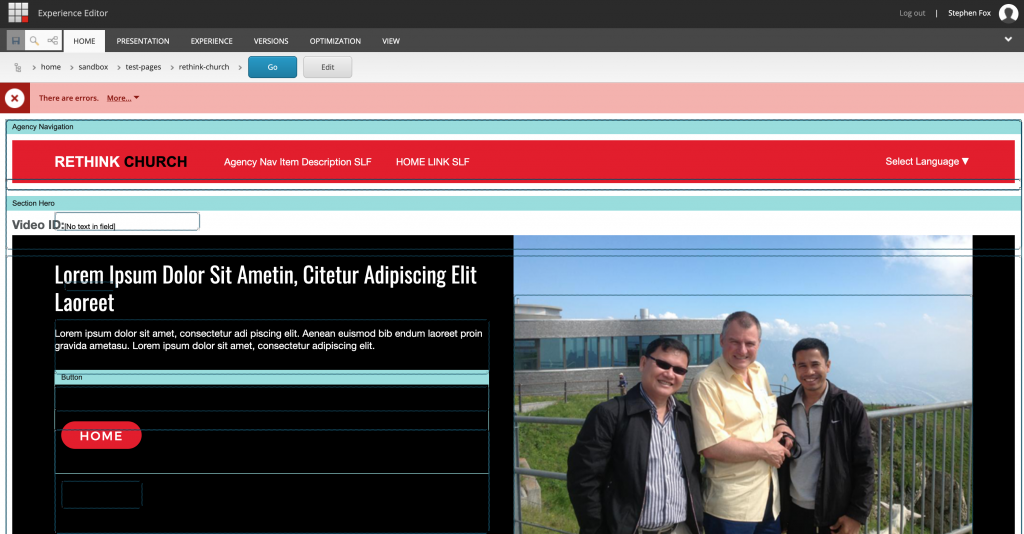
- Each component can be edited in several ways:
- Click on text and change the textual content directly.
- click the blue border to view an options menu.

- Click the yellow database icon (with blue check mark) to associate a different data set to the component.
- Select “More” and “Component Properties” to select available alternate styles.
- Once you’ve made your changes, save the page by clicking the “floppy disc” icon in the upper left corner.
- Select publish under the “Publish” tab, and publish with subitems and related items selected.
- You can exit Experience Editor and view the live page by clicking the “X” under the “Home” tab.
- Expand the page sub items by clicking the right-pointing arrow.