Content Page & Content Page With Sidebar Templates
The Content Page Templates are designed to display individual articles, blogs, commentaries, or other individual pieces of content.
The benefit of these page templates are:
- These templates are simple, individual pages.
- The Sidebar offers broad exposure to widely used, and high valued sections with no configuration required. The sidebar contains:
- On ResourceUMC.org:
- Most Viewed Articles
- UMNews “Feed” Articles
- Ad Placements
- On UMC.org:
- Most Viewed Articles
- Ask the UMC Call-to-Action
- Find-A-Church Call-to-Action
- Twitter Feed
- Ad Placements
- On UMNews.org:
- Editor’s Picks
- Ask the UMC Call-to-Action
- Ad Placements
- On ResourceUMC.org:
NOTE: Unless a specific, and unique, value-add can be defined, the Content Page With Sidebar should be used. Content Page (without sidebar) should be use sparingly for appropriate content intended to be presented in functional isolation.
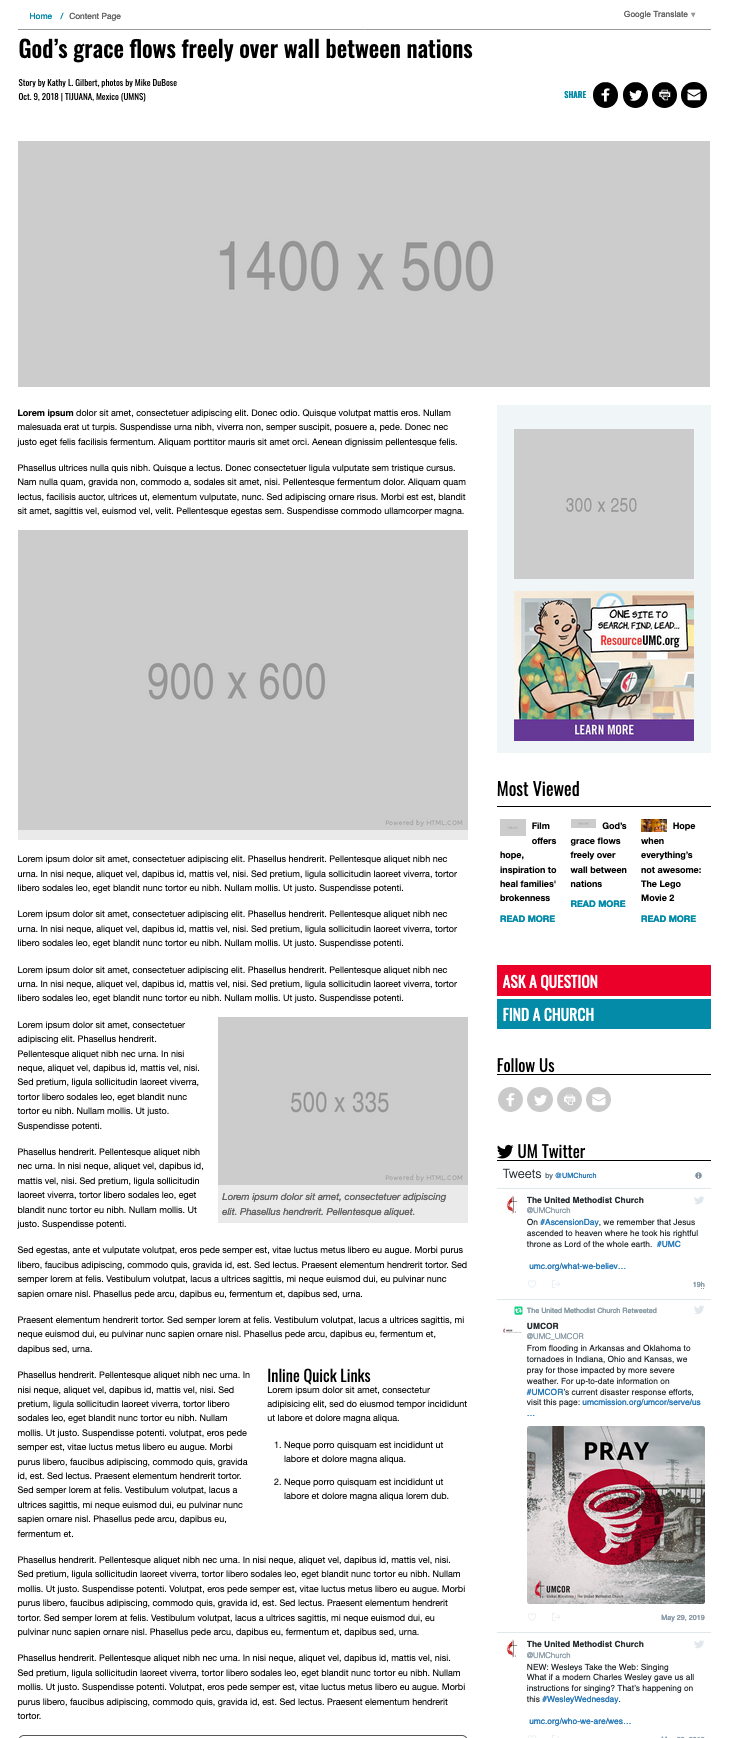
Page Template Thumbnail (image sizes applicable for ResourceUMC/UMC.org):
Page Creation:
To implement a
Content Page or Content Page With Sidebar:
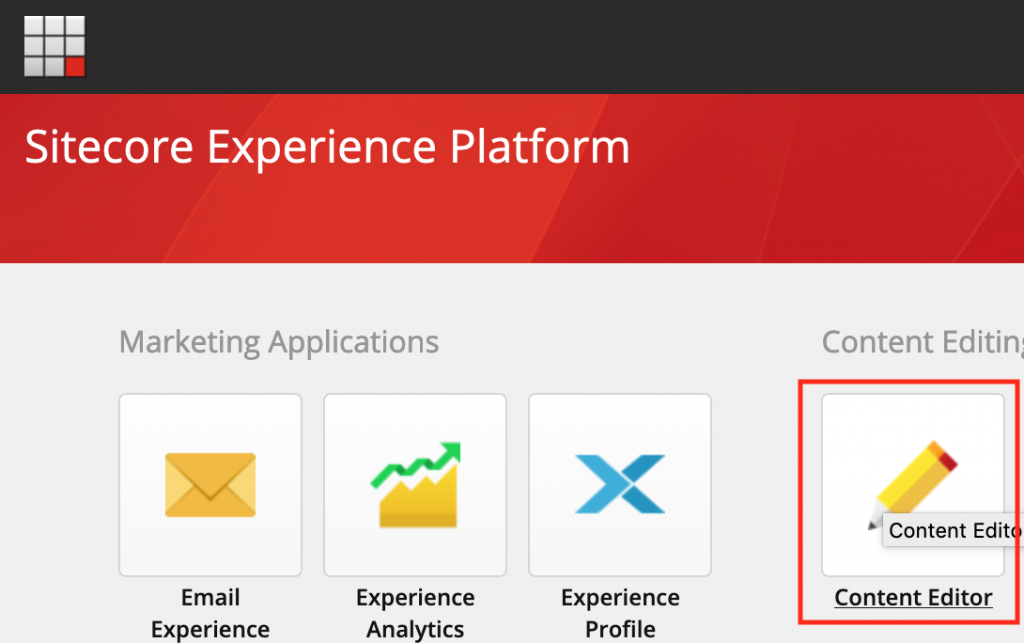
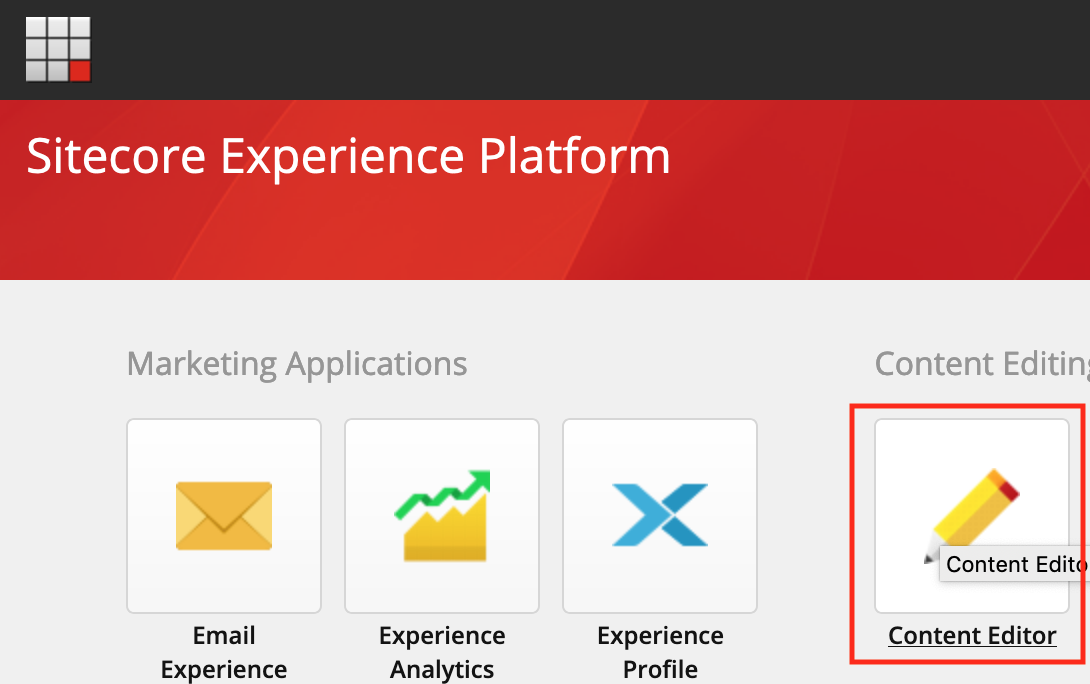
- Navigate to the Sitecore Content Editor.
- Using the File Tree on the left of the screen, navigate to the “content” section of the site the content will reside in.
- For ResourceUMC.org, that directory will be within
sitecore > Content > ResourceUMC > home > content - For UMC.org, that directory will be within:
sitecore > Content > UMC > home > content
NOTE: This directory will be different during development. - For UMNews.org, that directory will be within:
sitecore > Content > UMNS > home > news
- For ResourceUMC.org, that directory will be within
- Right-click on the “content” (or “news) folder.
- Click “Insert > Content Page or Content Page Template
- You will be prompted to “Enter a name for the new item:” This “name” will define the slug/url for your content item. While capital letters and spaces are supported, and will be reformatted for the url, special and punctuation characters will display an error. Create the name for your content, and click “OK.:
- The new piece of content will display to the right of the File Tree in the Content Editor viewport. Complete creation of content by reviewing and populating required data in the following sections:
- Quick Info offers Template, content location, and other information about the content. This section is display only.
- Article Info contains these critical areas:
- Title (required) is the literal title of the content. This will be the displayed title on the content page, and in areas where the content is “previewed” on other pages. Unlike the content “name” mentioned above, the Title can contain punctuation and special characters.
- Summary (required) contains preview copy intended to display as a short description of the article on other pages.
- Body (required) is the main component for authoring your content. This Rich Text Editor is very similar to a word processing program like Word. Compose your article in this field by writing directly in, or pasting content into, this editor. Images can be added using the “Insert Media” option.
- Inserting Media allows authors to place images directly within the Rich Text Editor. Clicking this icon will allow users to select images from the available media located in the UMC Media directory.

NOTE: This is not the featured “Article Image.” See below for details selecting this main Content Page Template image. - Snippets are pre-formatted html intended to simplify the inclusion of Full Width images, aligned images, and other reusable inline formatting options. Default text and images can be replaced directly within the Body component.

- Inserting Media allows authors to place images directly within the Rich Text Editor. Clicking this icon will allow users to select images from the available media located in the UMC Media directory.
- Byline offers a simple single byline attribution. None of the byline fields are required for article publication.
– OR – Select “Exclude Byline” and populate a Byline by using:- Byline Descriptor isolates the specific author field within the article byline.
- Cited Source isolates the specific source section of the byline.
NOTE: These options allow for consistent display of byline text with minimal formatting.
- Publish Date will hold the article for publication until the displayed time is current or beyond. This field is not required, and will populate by default.
- Video ID allows the display of a video in the featured image area, at the top of the content page. YouTube videos can be placed here by:
- Navigate to the desired video’s url.
- Copy the portion of the video’s url after the “=”.
NOTE: From this url: https://www.youtube.com/watch?v=MGdaSlV-rVY, the MGdaSlV-rVY section is the Video ID. - Paste the Video ID in this field.
- Preview Image (not required) allows a specific thumbnail to display when the content appears as previewed content on other pages. If this field is not set, the Article Image will be the default thumbnail.
- Article Image (required) is the main, featured image located at the top of the content.
- Slideshow Images allow the display of a slideshow in the featured image area.
NOTE: This component will support any selected image, but is intended to display images with similar resolution and aspect ratios. Combining Portrait and Landscape oriented media is not ideal and results in an unattractive display. - Editor’s Pick (UMNews only) will add the content to the Editor’s Picks sections. Prioritized, or more recent articles will “float” to the top.
- Subtitle (UMNews only) displays a subtitle.
- Dynamic Flag (UMNews only) displays a “Featured” indicator on one story within the Top Stories section on the UM News home page.
- Article Tags are the sorting mechanisms which allow parent pages to display similar content based on publish date, category, tag, etc.
- Categories (required) can be selected by navigating the list of Categories, and selecting the appropriate category or categories, and adding them to the “Selected” field using the left and right arrows. Selections can be prioritized by using the up and down arrows to the right of the “Selected” field.
- Author (in development) will allow display of content based on author.
- Tags (required) can be selected by navigating the list of Tags, and selecting the appropriate tags, and adding them to the “Selected” field using the left and right arrows. Selections can be prioritized by using the up and down arrows to the right of the “Selected” field.
- Region is defined as all regions by default.
- Related Content can be selected by choosing up to 3 content items in this field. These articles will display at the bottom of the content page.
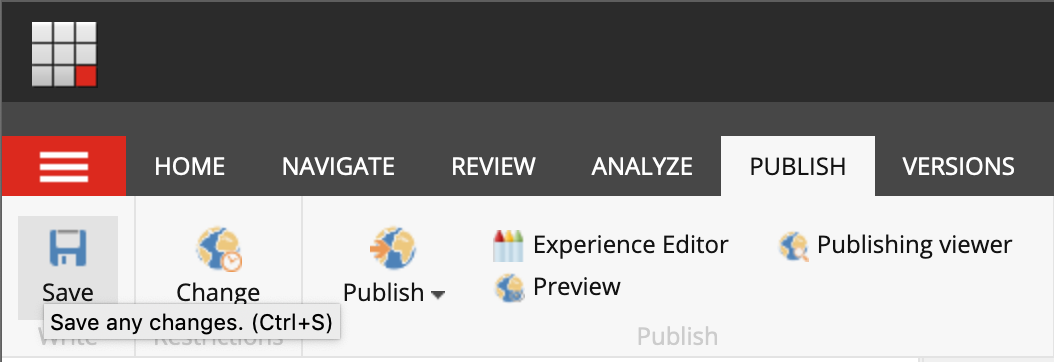
- Once all required fields have been populated, save your content using the “floppy disc” icon located in the “Publish” tab in the Sitecore Content Editor Ribbon.
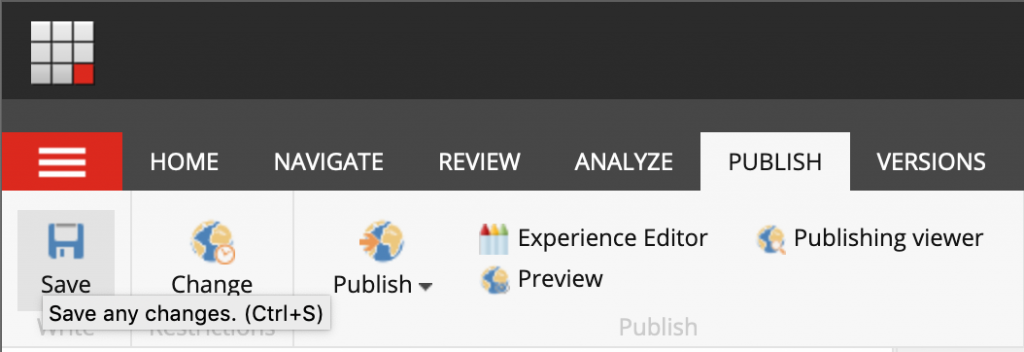
- Publish the content using the “Publish Item” dropdown available in the same “Publish” tab.
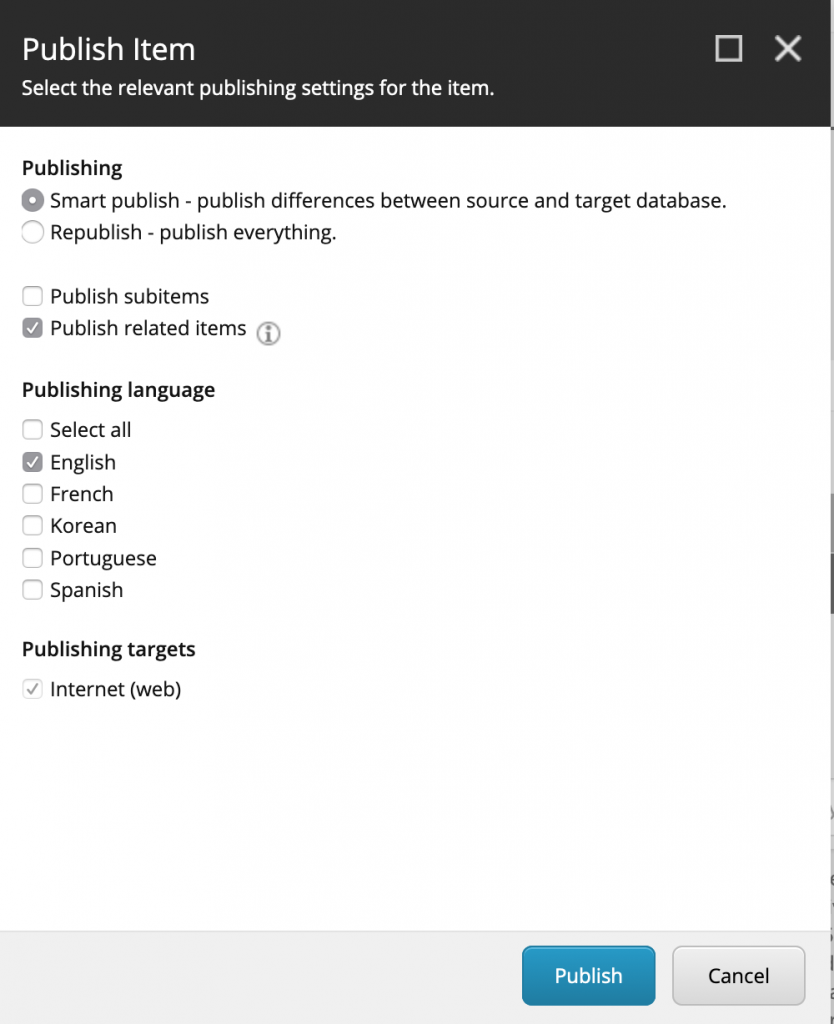
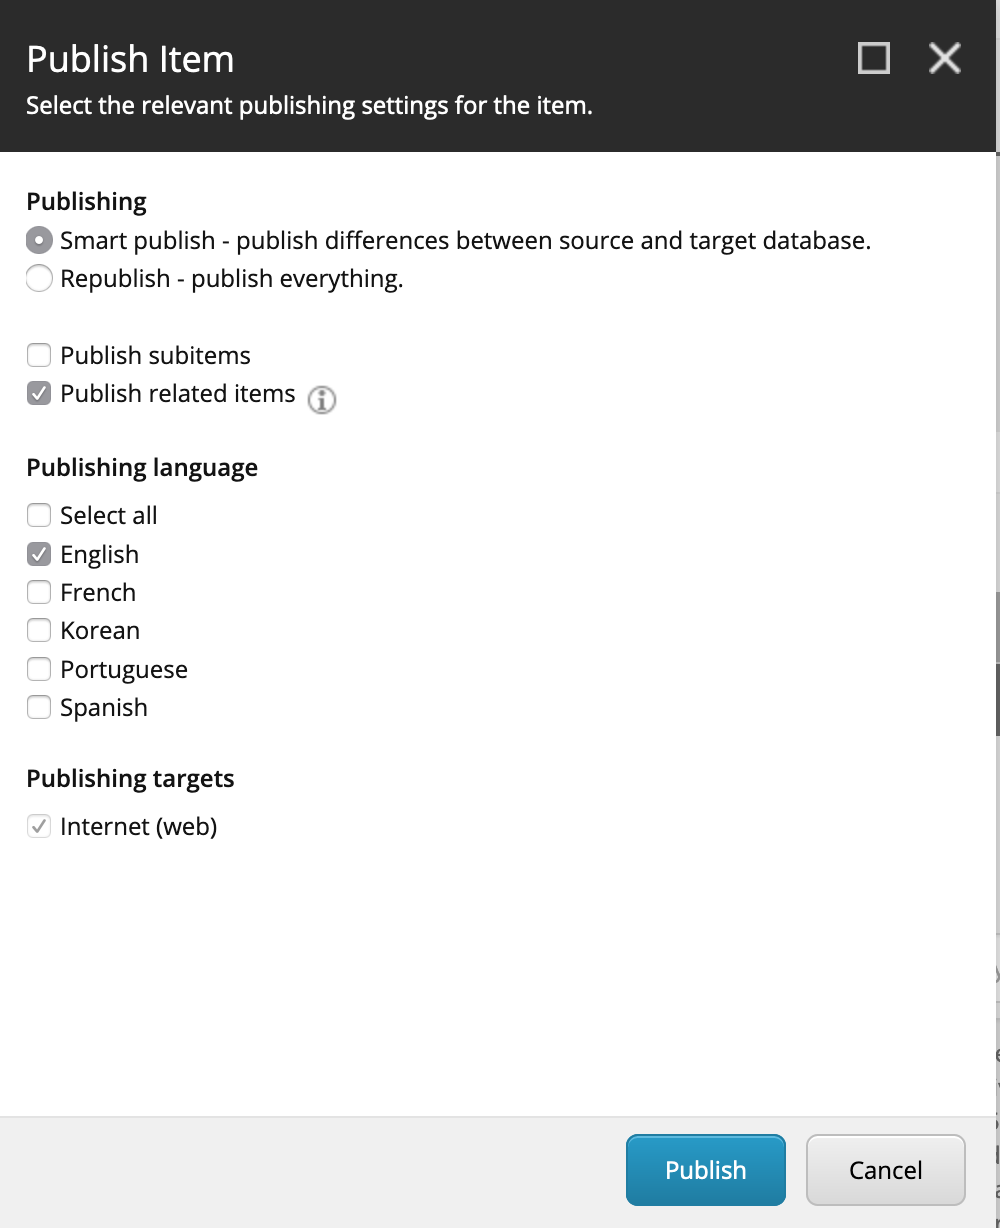
- Within the “Publish Item” dialogue:
- Choose “Smart Publish” to allow Sitecore to evaluate the leanest method for publishing the content without duplicating processes.
- Choose “Publish Related Items” to ensure uploaded images, content aliases, and other related content publishes along with the data within this item.
- Choose the Language that has been updated. Choosing unaltered or unused language versions will require unnecessary processes and bandwidth consumption.
- Within the “Publish Item” dialogue:


Future pages on this site will address creating various content language versions.