Component Thumbnail:
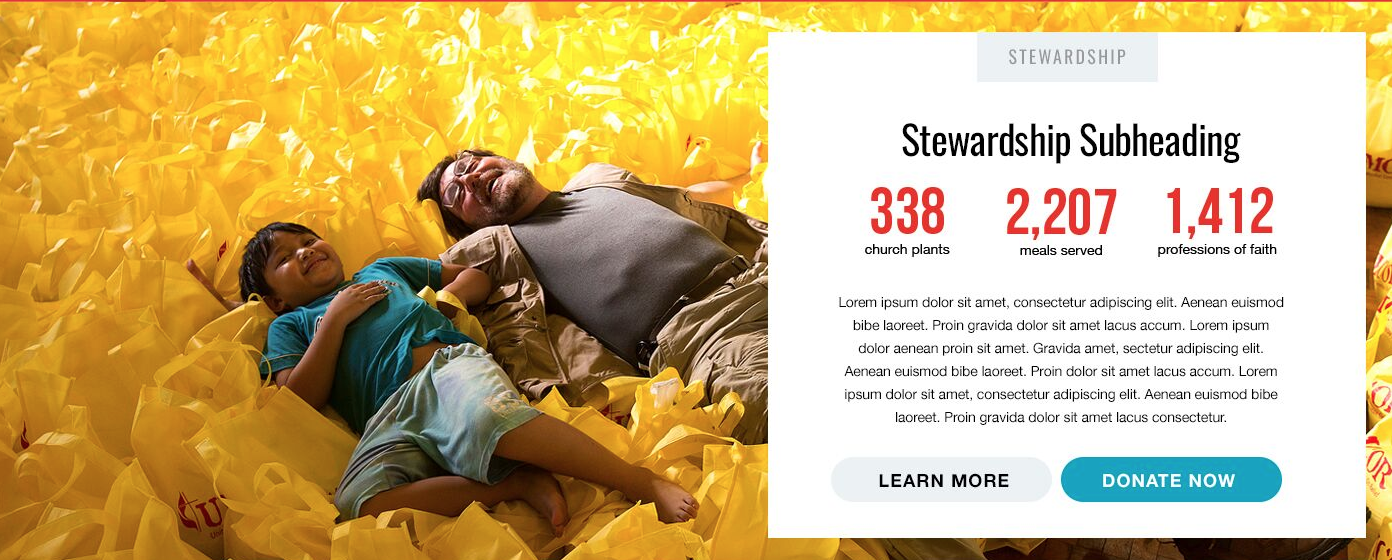
Implementation Instructions:
Purpose of the
IMPACT PANEL COMPONENT:
This component is intended to communicate educational stats or positive UMC campaign results in a dynamic, simple to understand manner.
To implement a
IMPACT PANEL:
- Navigate to the desired Home, Campaign, Intermediate or Category Page
NOTE: This component appears by default on the UMC home page, but can be implemented on other pages via Experience Editor.
- Click the right-arrow to expand the Page Template directory
- Click the right-arrow to expand the “Page Content” folder
- Select the “Impact Panel” component.
- Once the Content Editor loads the component, populate the following fields within the Content section:
- Hero Body – This is a Rich Text Editor. Simply click “Show Editor”, or double-click the blank text field to launch the window. Enter your desired text, and click “Accept.”
- Hero Image – This is a Media Library Explorer. Click “Browse” to search for your desired image, or choose one using the filters/facets to the left of the window. Choose your image, and click “Select.”
- Hero Title – This is the text appearing within a “tab” at the very top of the component. This is ideal for delineating a specific ministry, concept, or theme related to the displayed stats/values.
- Impact Panel Footer Text – This text appears before the Impact Panel Date and allows the date to be defined for users with the content author’s desired point of reference.
- Impact Panel Date – Displays a date the stats/values were last updated. This is ideal for stats that could change over time, and allows visitors to understand the time scope of the represented content.
- Hero Image Caption – Does not display on this component.
- Hero Subtitle – The Large text beneath the Hero Title. This introduces the body copy.
- Expand the “Impact Panel” component within the File Tree.
- Update Button text and links by selecting the components by clicking “Insert Link.”
- Select desired page to link to from the File Tree dialogue.
- Update the button text by updating the “Description” field that appears once a link is selected.
- Update Impact Panel stats/values by selecting each of the “Impact Tile” components and updating the Title, Subtitle, and Description fields.
- Update Button text and links by selecting the components by clicking “Insert Link.”
- Click the “Save” icon (floppy disk) on each component in the upper left corner.
- Publish the enclosing page.
- If images, aliases or other “items” have been uploaded to a component, select “publish related items” and “publish subitems,” and continue to “Publish.”
- If all images, aliases, or other items were uploaded previous to updating the page components, simply select “publish subitems,” and continue to “Publish.”