1. Creating an EVENT
Events are created on the calendar page on UMC.org here.
- Click the “ADD EVENT” button on the right-hand side of the Calendar header.
- Complete all requied fields on the resulting form.
NOTE: The email field will be used for notifications of approval or rejection of events. - Click “Submit” button at the bottom of the form.
NOTE: As events are created, a daily email will notify a specific UMCom representative that unacted upon events have been created. The recipient of this report can be calibrated within Sitecore Content Editor via:
sitecore / Content / UMC / Shared Content / Messages / Created Events Report Message
2. Generating “EVENTS Awaiting Approval” Report
To view all unapproved event submissions, the “Events Awaiting Approval” report can be generated in Sitecore:
- Navigate to the Desktop
- Click the Sitecore start button in the lower left corner and selecting >
Reporting Tools > Powershell Scripts > UMC > Events For Review - Select the sorting criteria for the report from the resulting dialogue window
- Once the report generates, double-click the event awaiting approval; the event item will load in the Content Editor
You can navigate to a newly submitted event from the “Events Awaiting Approval” from (Step 2, above), or from the Sitecore File Tree (Step 4, below).
- Verify the submitted data
- Navigate to the “Review” tab, and “Submit” to approve the submitted event.
- Navigate to the “Publish” tab, and “Publish Item” to allow the job to appear within the Calendar event results.
- Click the “Events Awaiting Approval” button located to the right of the Sitecore start button (lower left corner) to return to the report, and repeat approvals as necessary.
3. Locating EVENTS Within the Sitecore File Tree
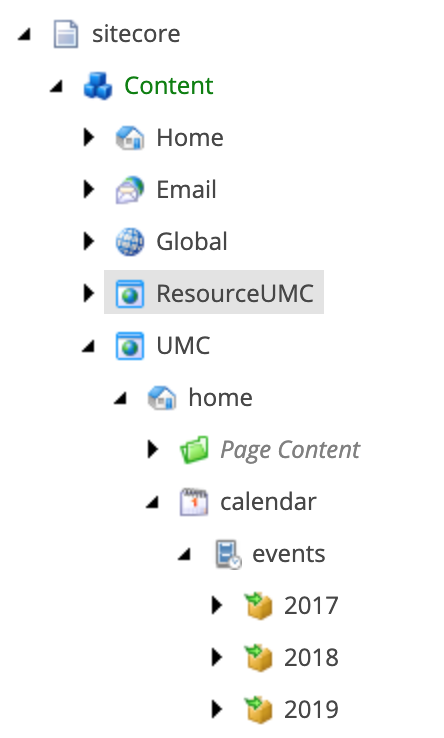
Upon submission, event items will be placed chronologically (by year > month > day > hour) within the content tree here:
sitecore / Content / UMC / home / calendar / events