Editing Content Page Templates Instructions:
Editing a Content Page:
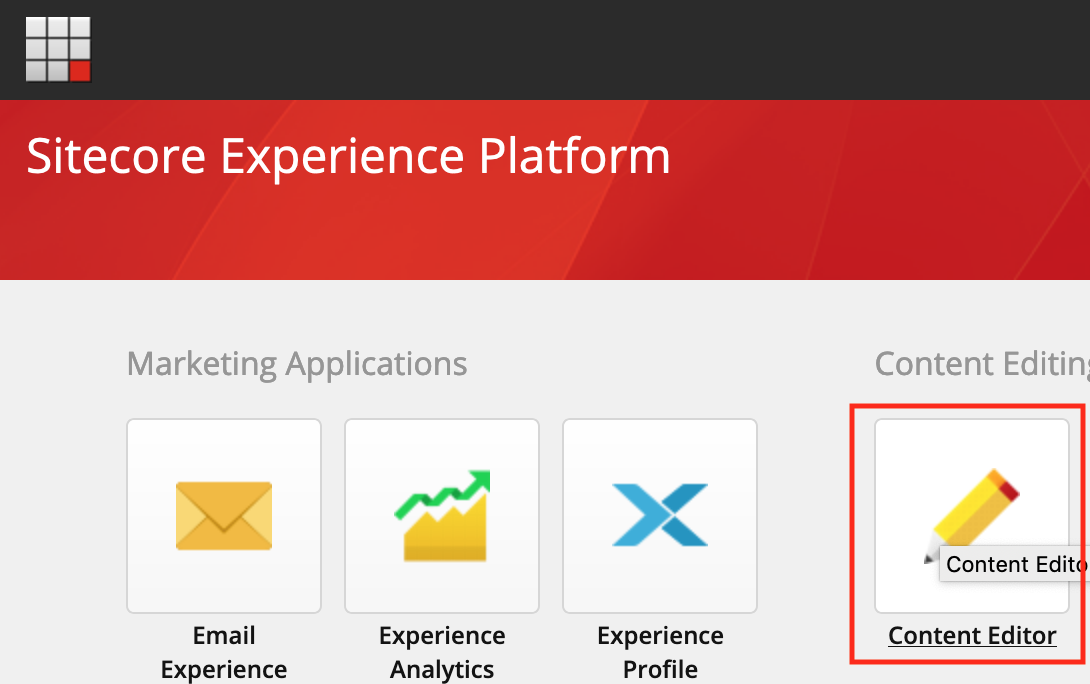
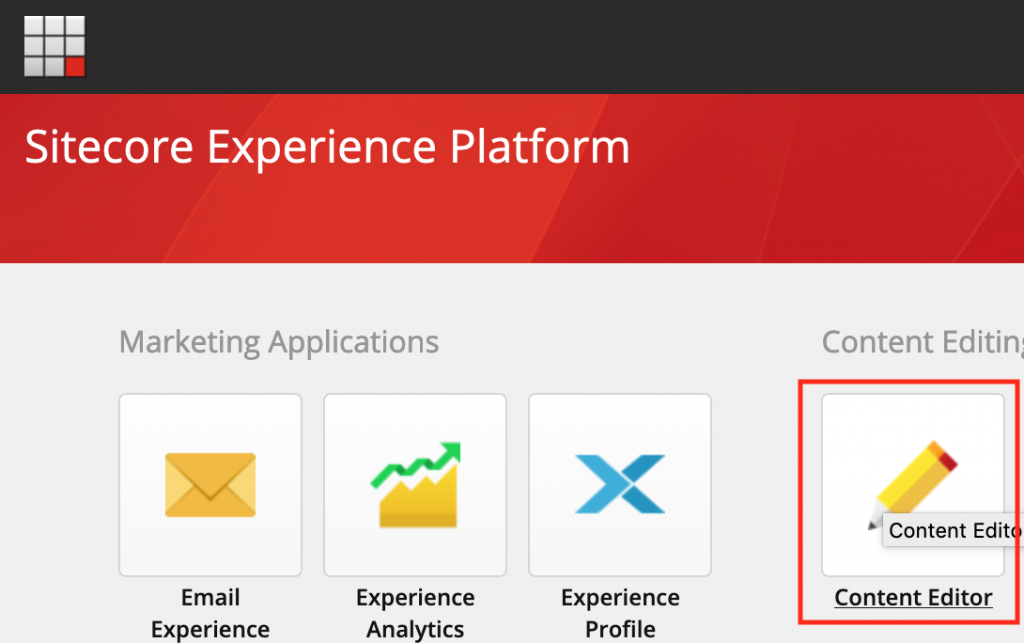
- Navigate to the Sitecore Content Editor.
- Using the File Tree on the left of the screen, navigate to the “content” section of the site the content will reside in.
- For ResourceUMC.org, that directory will be within
sitecore > Content > ResourceUMC > home > content - For UMC.org, that directory will be within:
sitecore > Content > UMC > home > content
NOTE: This directory will be different during development. - For UMNews.org, that directory will be within:
sitecore > Content > UMNS > home > news
- For ResourceUMC.org, that directory will be within
- Select the “content” (or “news) folder.
- Using the Content Editor Viewer to the right of the File Tree, search for the desired piece of content.
NOTE: Filters can be used to help narrow your search. For example, typing Title: will create a filter isolating the title section of articles. Additionally, “Facets” including Page Template, Category, and others can be used to cross-reference results. - Select the desired content. Once the content is selected, follow steps on the Creating Content page to update the Summary, Preview Image, Article Image, or any other component on the Content Page Templates.
- Once changes are complete, save your content using the “floppy disc” icon located under the “Publish” tab within the Sitecore Content Editor Ribbon.
- Publish the content using the “Publish Item” dropdown available in the same “Publish” tab.
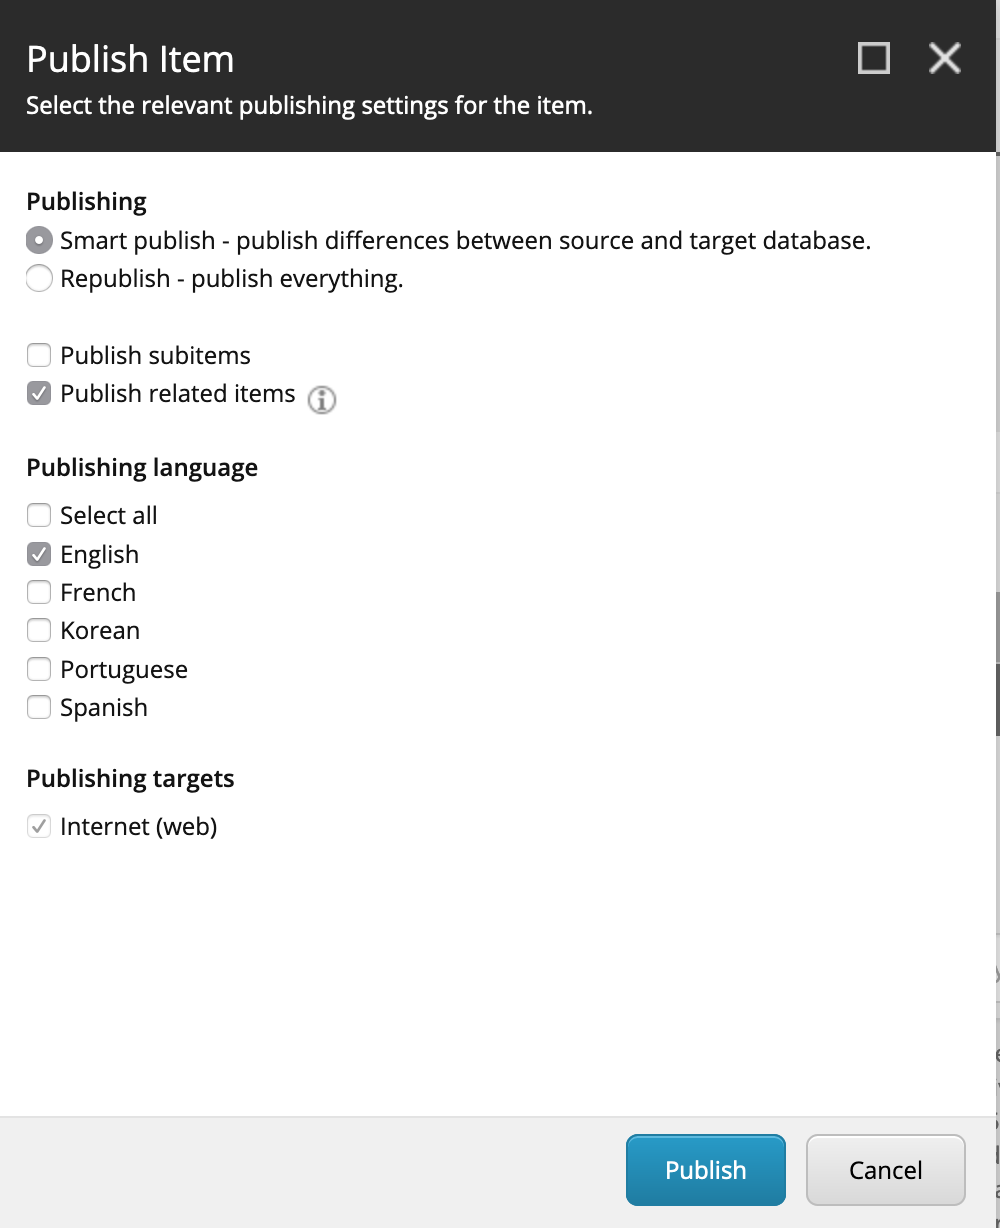
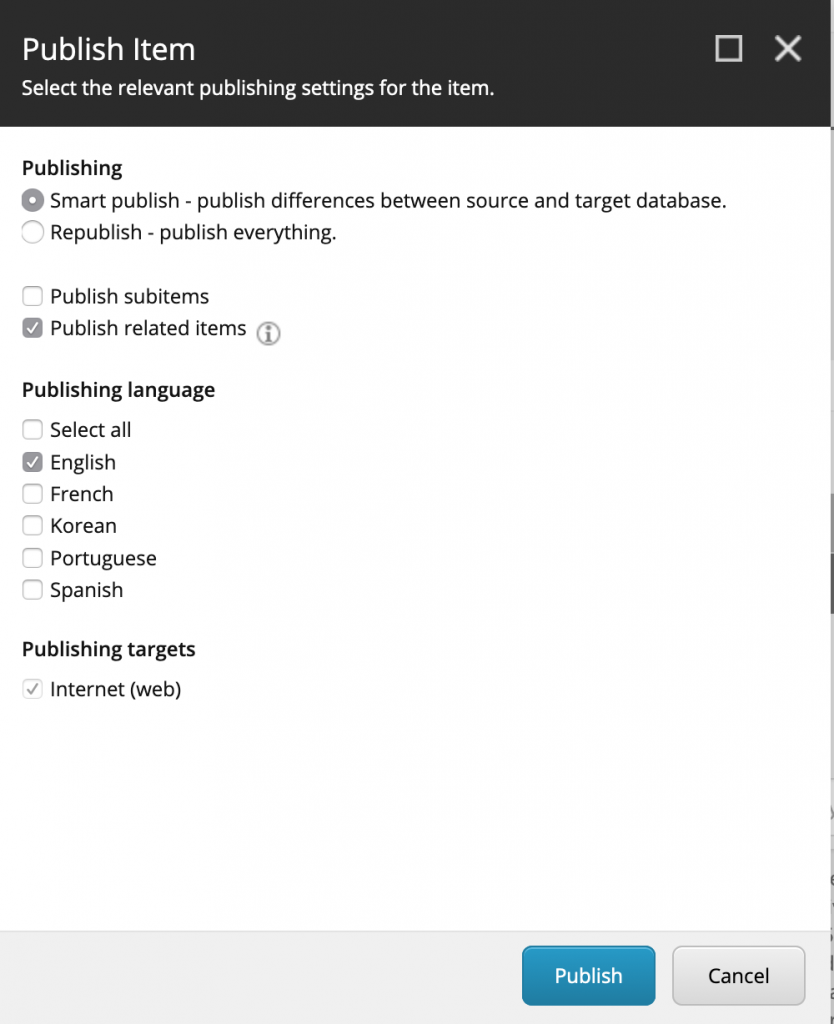
- Within the “Publish Item” dialogue:
- Choose “Smart Publish” to allow Sitecore to evaluate the leanest method for publishing the content without duplicating processes.
- Choose “Publish Related Items” to ensure uploaded images, content aliases, and other related content publishes along with the data within this item.
- Choose the Language that has been updated. Choosing unaltered or unused language versions will require unnecessary processes and bandwidth consumption.
- Within the “Publish Item” dialogue: