Adding a Component
Both adding and removing components is best accomplished via the Sitecore Experience Editor.
- To access this editor, simply navigate to the page or content you’d like to update (please note, components (like Promo Cards, Tag Grids, Section Heroes, etc) cannot be edited individually via Experience Editor).

- From the selected page, navigate to the Publish tab within the Sitecore Ribbon, click “Experience Editor.” A new tab will open to the right of your active tab.
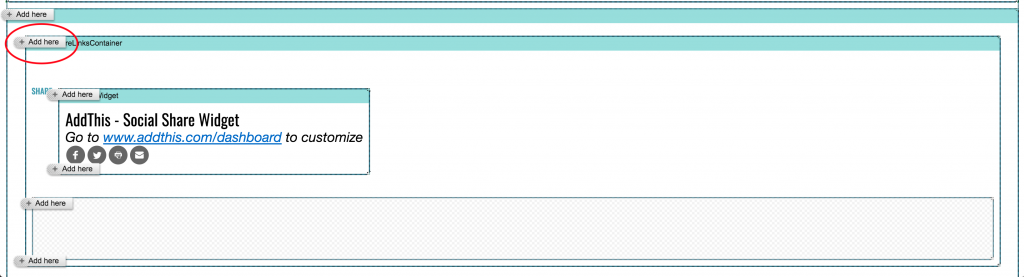
- Once in the Experience Editor view, click the “Add New Component” icon. Several “Add Here” buttons will appear to the left of each component.

- Select the “Add Here” button nearest to the section of the page where you’d like your new component to appear.
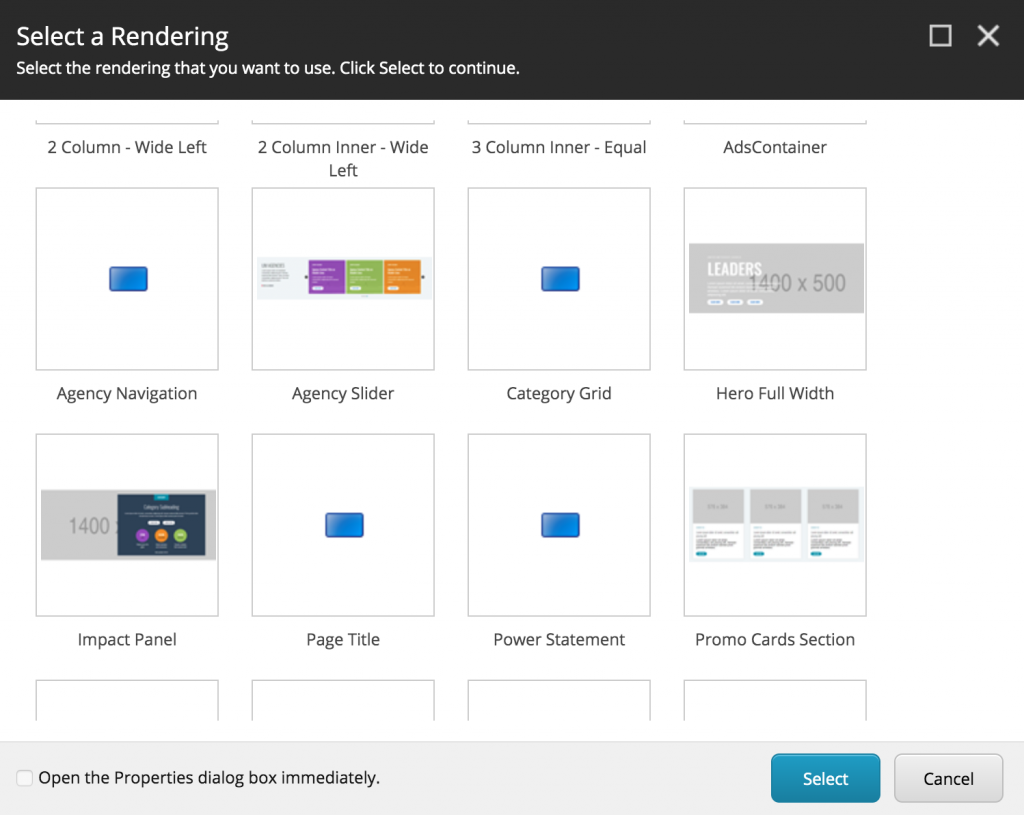
- Select the component type you’d like to add.
- If the desired data set is already available, choose it from the next dialogue titled “Select the Associated Content.” The selected data set should appear within the component after a brief pause while Sitecore processes the operation.
NOTE: The “Select Associated Content” will only allow users to select compatible data sets. For instance, a Tag Grid Slider can only display data from a Tag Grid Slider data set. These data sets are best configured via the Content Editor. - If the desired data set is not available, choose “Create New Content.” This selection will create an empty data set compatible with the selected component. The data set can be configured most easily via the Content Editor. Simply save your progress, and navigate to the Content Editor to calibrate your new data set.
Removing a Component
- Follow steps 1 and 2 from the above “Adding a Component” section above.
- Click on the component you’d like to remove.
- Click the red “X” in the popup menu.

- Save your progress, and publish.